 Download
How to Install Self-Drilling Rock Bolts in Tunnels?
Time:2026-05-08From:sinorock View:
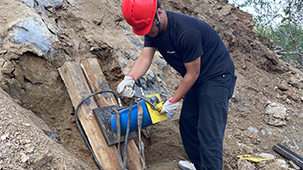
Self-drilling rock bolts have revolutionized tunnel support by combining drilling, grouting, and anchoring into a single efficient process. These versatile systems are ideal for stabilizing complex geological conditions, such as fractured rock or weak strata, commonly encountered in tunnel construction. Sinorok provides a step-by-step explanation of how to install self-drilling rock bolts in tunnels, optimized for safety, efficiency, and durability. Whether you're a tunnel engineer or a contractor, understanding this process can enhance project outcomes and ensure structural stability.
Why Choose Self-Drilling Rock Bolts for Tunnel Support?
Self-drilling rock bolts are hollow, threaded bars equipped with a sacrificial drill bit, allowing simultaneous drilling and anchoring. Unlike traditional bolts, they eliminate the need for separate drilling and casing, saving time and reducing costs. Key benefits include:
Adaptability: Effective in unstable or weak ground, such as sandy soil or fractured rock.
Efficiency: Combines multiple steps, reducing labor and equipment needs.
Durability: High-strength steel and corrosion-resistant coatings ensure long-term stability.
Safety: Minimizes risks in challenging geological conditions, such as in urban or subsea tunnels.
This makes self-drilling rock bolts a preferred choice for projects like the pipe-roofing for Xingqiaoping tunnel of Zhengzhou-Wanzhou high-speed railway in Xiangyang, Hubei.
Step-by-Step to Installing Self-Drilling Rock Bolts
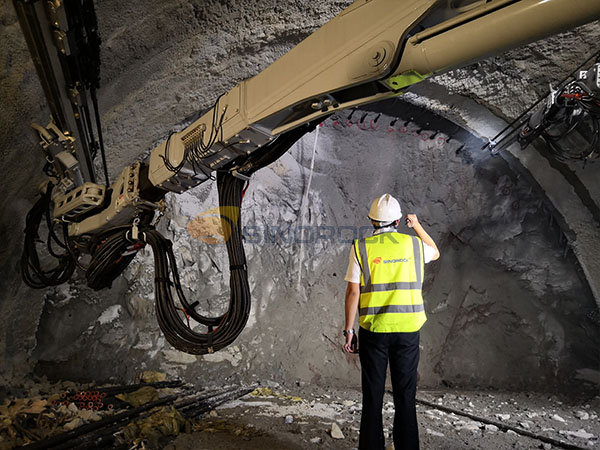
Step 1: Site Assessment and Preparation
Before installation, conduct a thorough geological survey to identify rock conditions, water presence, and load requirements. This ensures the correct rock bolt specifications (e.g., diameter, length, and load capacity) are selected. For example, R32 or R51 rock bolts are common for tunnel support, offering tensile strengths up to 800 kN.
Tools Needed: Drilling rigs (e.g., hydraulic or pneumatic), grout pumps, torque wrenches, and safety gear.
Safety Measures: Ensure workers wear PPE, including helmets, gloves, and eye protection. Verify the stability of the tunnel face to prevent collapses.
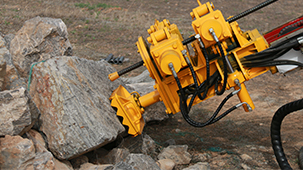
Step 2: Selecting the Right Self-Drilling Rock Bolt
Choose rock bolts based on project requirements. Consider:
Diameter and Length: R25 for shallow tunnels; T76 for deeper, unstable strata.
Material: Stainless steel rock anchor for corrosive environments like subsea tunnels.
Drill Bit Type: Carbide button bits for hard rock; cross drill bits for softer strata.
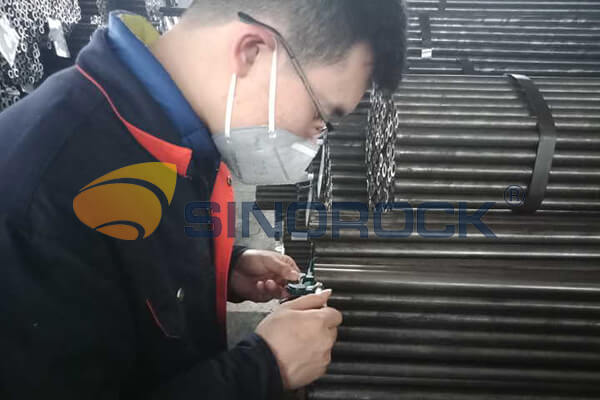
Consult manufacturers like Sinorock for certified products meeting ISO9001 and CE standards.
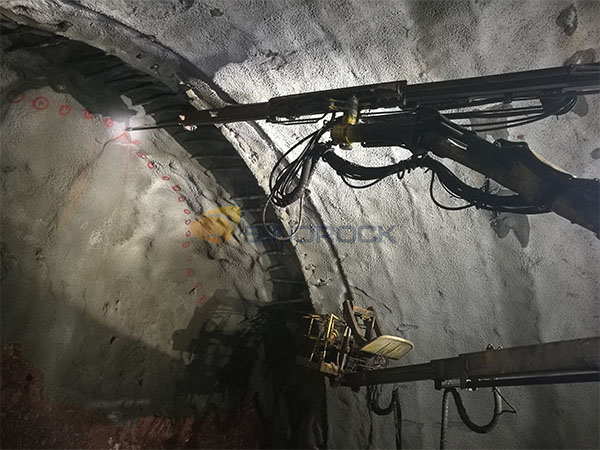
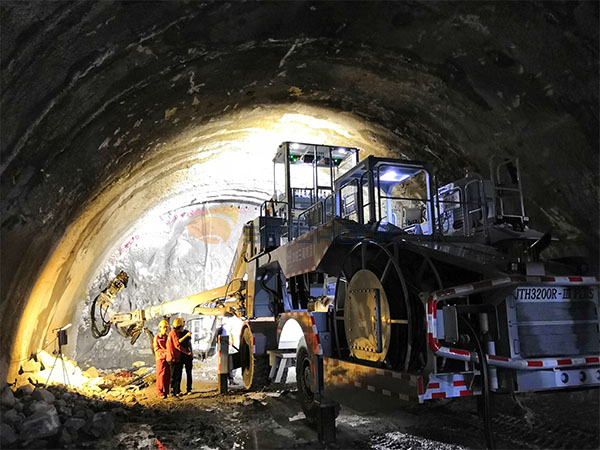
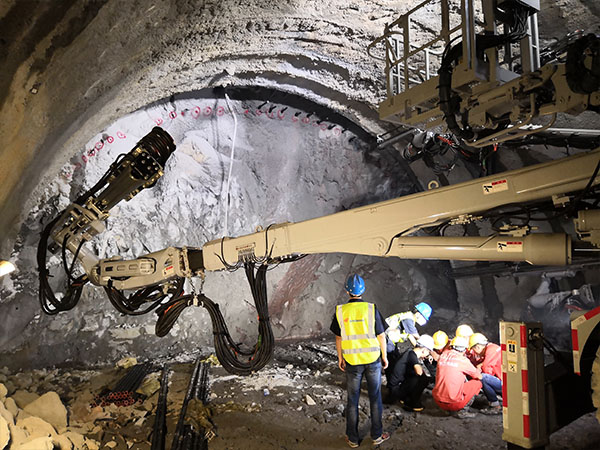
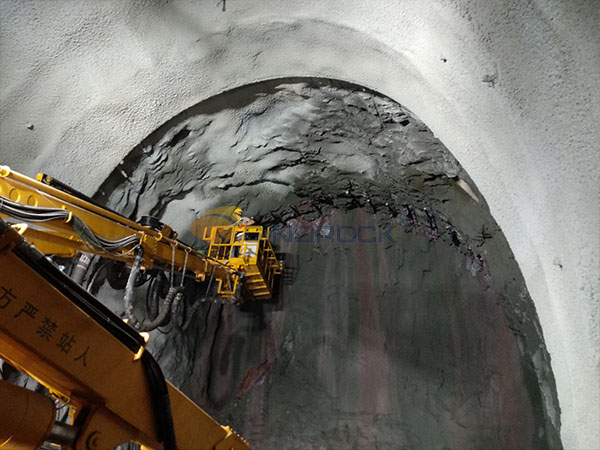
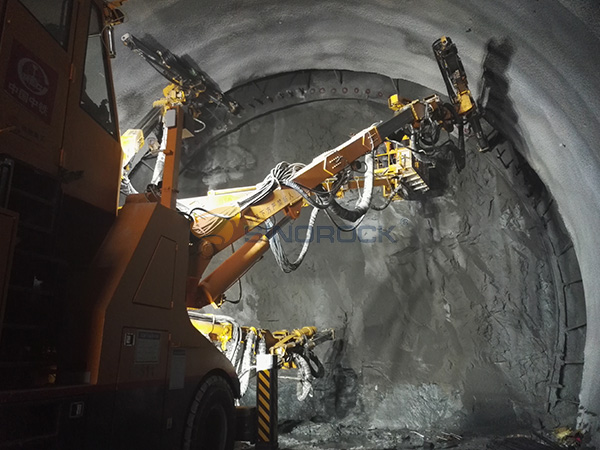
Step 3: Drilling with the Self-Drilling rock Bolt
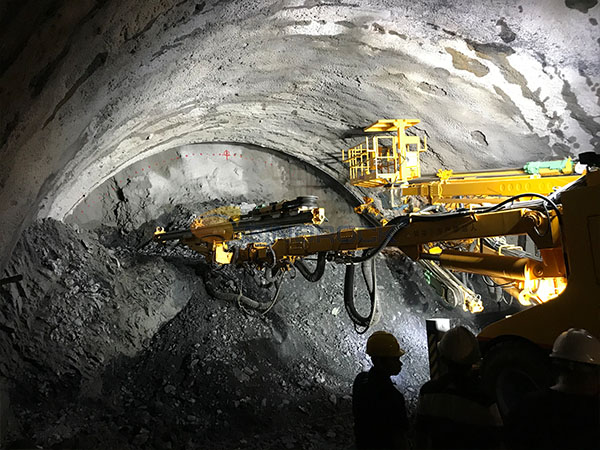
Attach the self-drilling rock bolt to a compatible drilling rig. The drill bit allows it to penetrate the rock while acting as the rock bolt. Key considerations:
Drilling Angle: Typically 5-15 degrees upward to ensure grout flow and load distribution.
Rotation Speed: Adjust based on rock hardness (e.g., 100-200 rpm for soft rock).
Flushing: Use water or air to clear debris, ensuring a clean borehole.
Maintain steady pressure to avoid rock bit wear or deviation. For weak strata, monitor for borehole collapse and adjust drilling parameters.
Step 4: Grouting for Anchorage
Once the rock bolt reaches the desired depth, inject cement-based grout through the hollow anchor bar. Grouting secures the rock bolt and stabilizes surrounding rock.
Grout Mix: Use a water-cement ratio of 0.4-0.5 for optimal flow and strength.
Pressure: Apply 2-5 bar pressure to ensure grout fills fractures without causing rock displacement.
Timing: Grout immediately after drilling to prevent borehole collapse in unstable ground.
Step 5: Detect pull-out force
After the grout sets (typically 24-48 hours), tension the rock bolt using a torque wrench to the specified load (e.g., 50-70% of the bolt’s yield strength). Conduct pull-out tests to verify anchorage strength, ensuring compliance with project specifications (e.g., ASTM or EN standards).
How to ensure successful construction
Training: Ensure workers are trained in handling self-drilling anchor system and understand geological risks.
Quality Control: Inspect rock bolts for defects and verify grout consistency before use.
Maintenance: Regularly check drill rid to prevent downtime.
Documentation: Record installation parameters (depth, torque, grout volume) for quality assurance.
Common Challenges and Solutions

Challenge: Borehole collapse in weak strata.
Solution: Use simultaneous grouting during drilling or select larger-diameter anchor bars.
Challenge: Insufficient grout penetration in fractured rock.
Solution: Increase grout pressure or use additives to improve flowability.
Challenge: Corrosion in subsea or humid tunnels.
Solution: Opt for galvanized or stainless steel rock anchor.
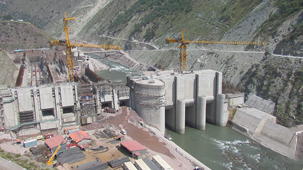
Case: Zhengzhou-Wanzhou High-speed Railway Tunnel
In the Zhengzhou-Wanzhou high-speed railway tunnel project, self-drilling rock bolts were used to stabilize weak sandstone layers. R51 anchor bar were installed at 10-degree angles, with cement grouting ensuring a pull-out strength of 600 kN. The system reduced construction time by 20% compared to traditional methods, showcasing the efficiency of self-drilling anchor bolts.
Conclusion
Installing self-drilling rock bolts in tunnels is a streamlined process that enhances safety and efficiency in challenging geological conditions. By following these steps—site assessment, rock bolt selection, drilling, grouting, tensioning—you can achieve robust tunnel support. For optimal results, partner with reputable suppliers and adhere to industry standards. This approach ensures long-term stability for projects ranging from urban metros to subsea tunnels.
latest news
-
- How Self-Drilling Anchor Bolts Drill and Grout Simultaneously
- Time:2026-05-25From:This Site
- Discover how self-drilling anchor bolts drill and grout simultaneously, improving efficiency, stability, and safety in geotechnical projects. Learn the mechanism, installation process, advantages, and common applications.
- View details
-
- What Factors Affect the Tensile Strength of Self-Drilling Anchor Bolts?
- Time:2026-05-19From:This Site
- Discover the key factors affecting the tensile strength of self-drilling anchor bolts: diameter, length, shear strength, grouting pressure, and wall thickness. Learn how to optimize for safer tunneling and slope projects!
- View details
-
- What Are the Applications of SDA Bolts in Hydropower Stations?
- Time:2026-05-13From:This Site
- Learn how self-drilling anchor bolts enhance slope stability, tunnel support, and dam reinforcement in complex geological conditions at hydropower stations. Optimize hydropower projects with efficient, cost-effective, and eco-friendly solutions.
- View details
-

- Sinorock 2025 Quality Month | Strengthening Quality Foundations, Empowering Product Excellence
- Time:2025-08-13From:This Site
- Sinorock’s 2025 Quality Month, themed “Strengthening Quality Foundations, Empowering Product Excellence,” successfully concluded, reinforcing our commitment to superior product quality.
- View details
-
- Sinorock Safety Month 2025 | Everyone Speaks Safety, Everyone Can Respond
- Time:2025-07-03From:This Site
- Sinorock Safety Month 2025, centered on the theme "Everyone Speaks Safety, Everyone Can Respond - Spot Workplace Hazards," has wrapped up successfully!
- View details
-
- Quality Control: the Vital Factor of A SDA Bolt Factory
- Time:2025-01-09From:This Site
- Sinorock’s comprehensive quality control system, from supplier management to outgoing inspections, ensuring the highest standards for self-drilling anchor bolts in construction.
- View details
-
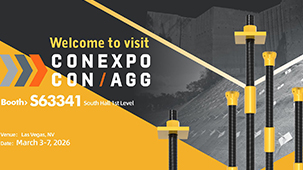
- Sinorock Invites You to Visit Us at CONEXPO-CON/AGG
- Time:2026-02-14From:This Site
- Sinorock Invites You to Explore Proven Self-Drilling Anchor Bolt Solutions at CONEXPO-CON/AGG –S63341.South Hall 1st Level
- View details
-

- SINOROCK to Showcase Innovative Mining Solutions at Mining and Metals Central Asia 2025
- Time:2025-09-09From:This Site
- We are pleased to share that SINOROCK will participate in the Mining and Metals Central Asia 2025, taking place from September 17 to 19 at the Atakent International Exhibition Centre in Almaty, Kazakhstan. You can find us at Booth 11-231.
- View details
-
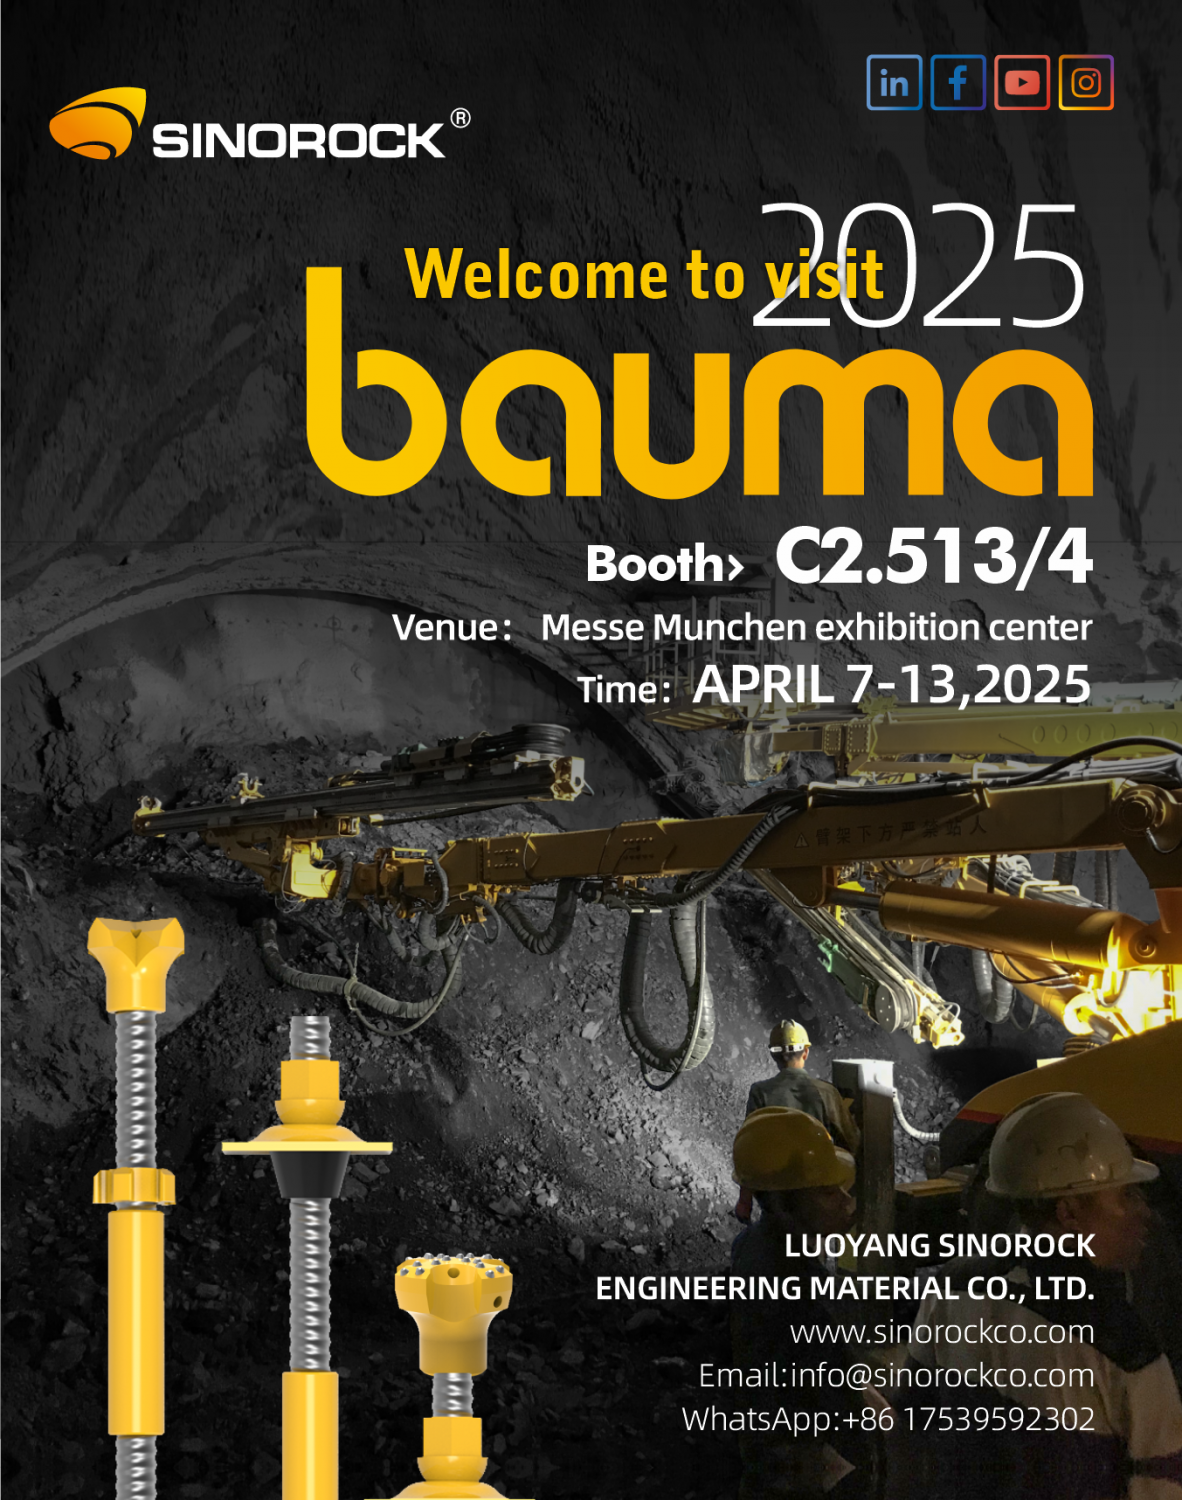
- Sinorock Invites You to Explore Proven Self-Drilling Anchor Bolt Solutions at bauma 2025
- Time:2025-03-07From:This Site
- From April 7–13, 2025, explore Sinorock’s Self-drilling anchor bolt solution at Booth C2.513/4 in Hall C2 of the Messe München Exhibition Center (Munich, Germany).
- View details
